Datasource Google Analytics
Mysql is RDBMS (relational database management system), In opnbi we are connecting datasource using SQL JDBC drivers.
To add the MySQL datasource JDBC driver with opnbi, follow the steps below:
To get the JDBC driver, Go the vendor's end and download the (mysql-connector-java.jar) driver file.
After downloading the .jar file, add it into the opnbi.
To add Go to the libreary folder opnbi\apache-tomcat-8.5.61\webapps\opnbi\WEB-INF\lib folder and add the .jar file here.
Connecting Google Analytics Datasource with Airbyte
- Go to Airbyte and click on new source button to add the source.
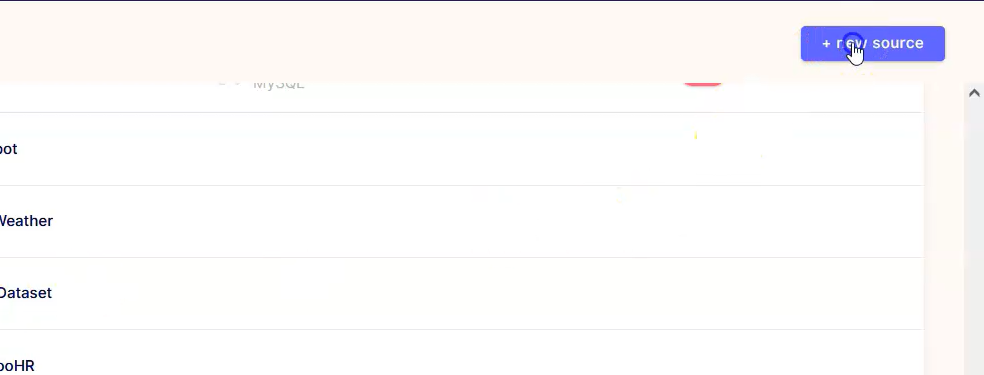
- Add the name & select the source name from the source type dropdown as shown in the figure below:
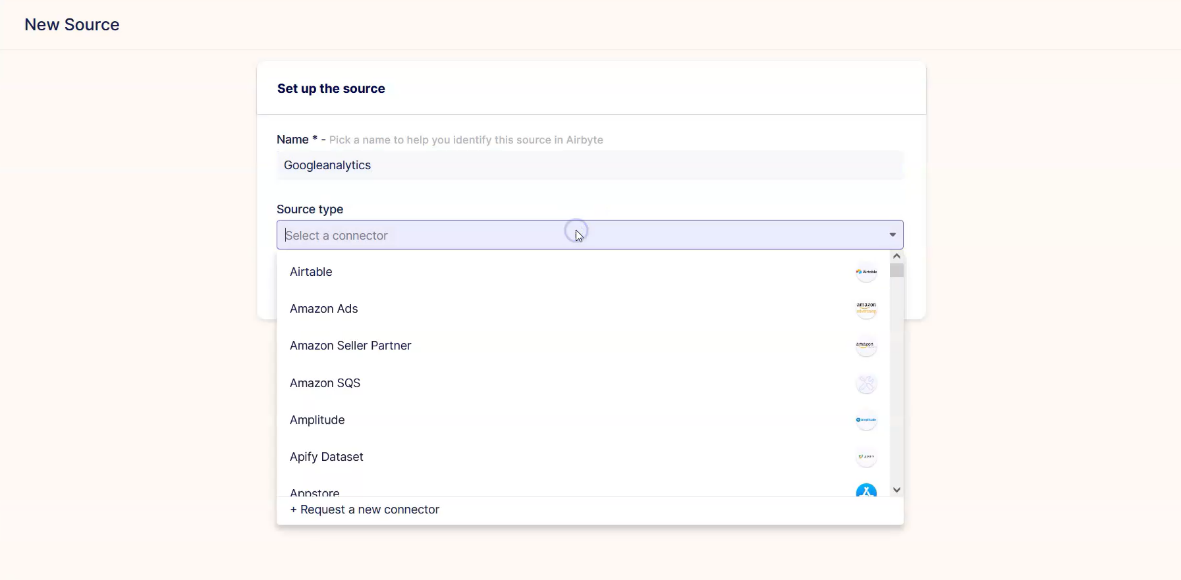
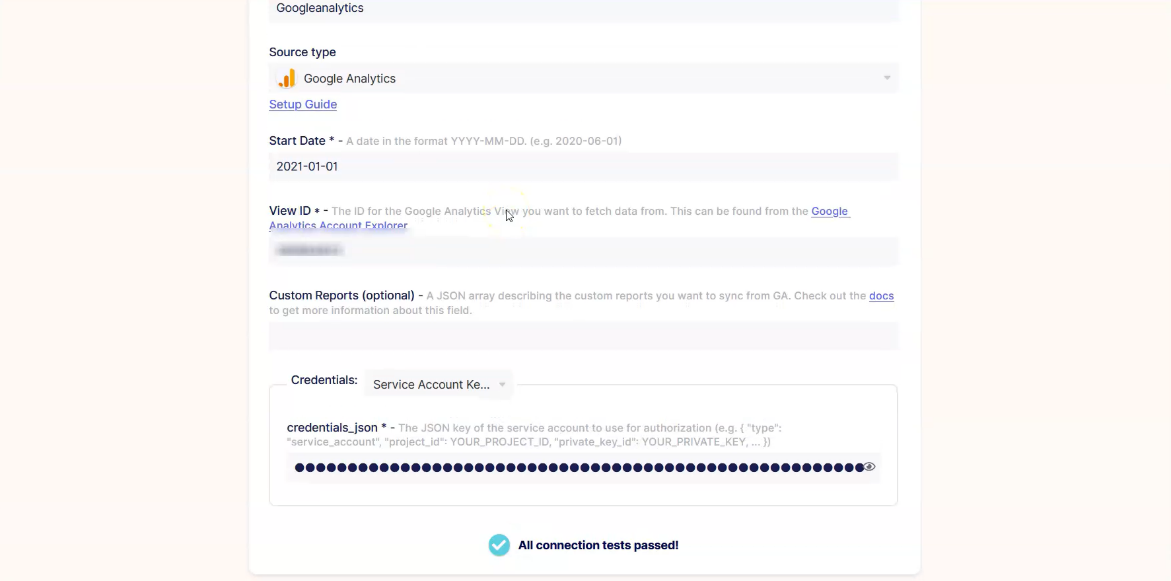
- Add the below details while adding source:
- Add Name: Googleanalytics
- Add Source Type: Google Analytics
- Add Start Date: 2021-01-01
- Add View ID: Fetch the View ID from the google console.
- Add the credentials service account key(Credentials Json)
- After adding the details, Click on the Test connection button.
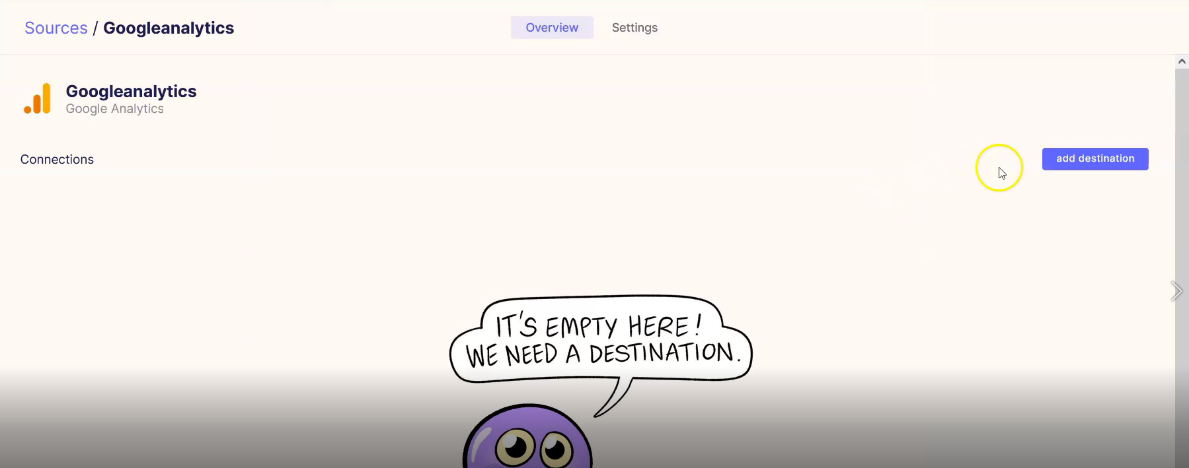
- As the test connection gets passed, user need to add source destination, click on the add destination button from the destination page.
- Select the destination and select the MySQL datasource.
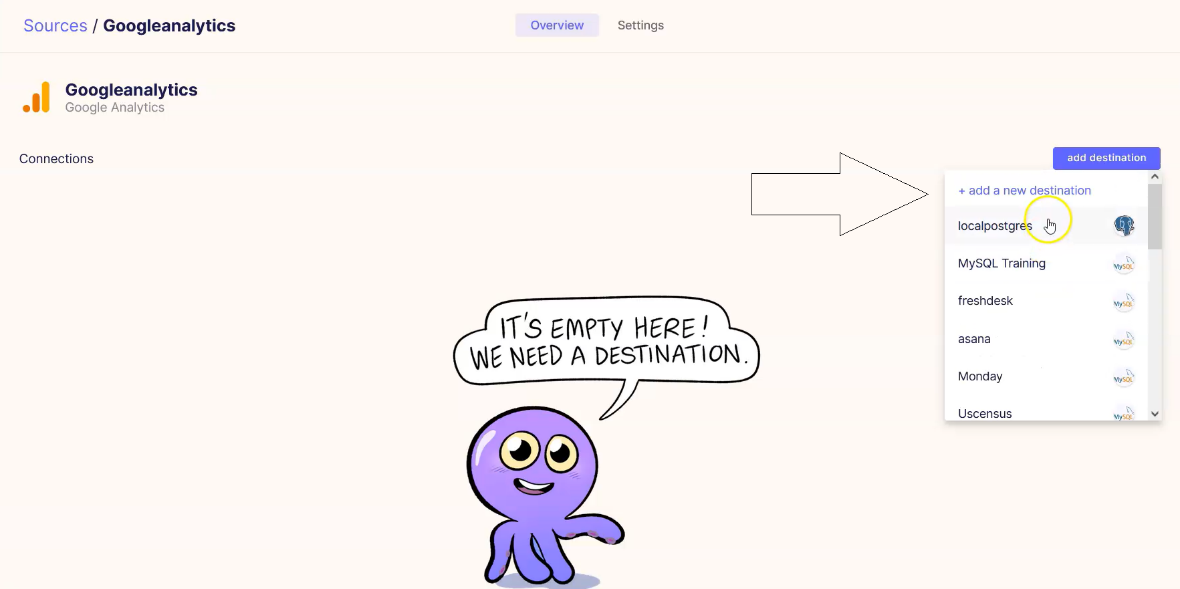
- Add name and destination type on the destination page as shown in the figure below:
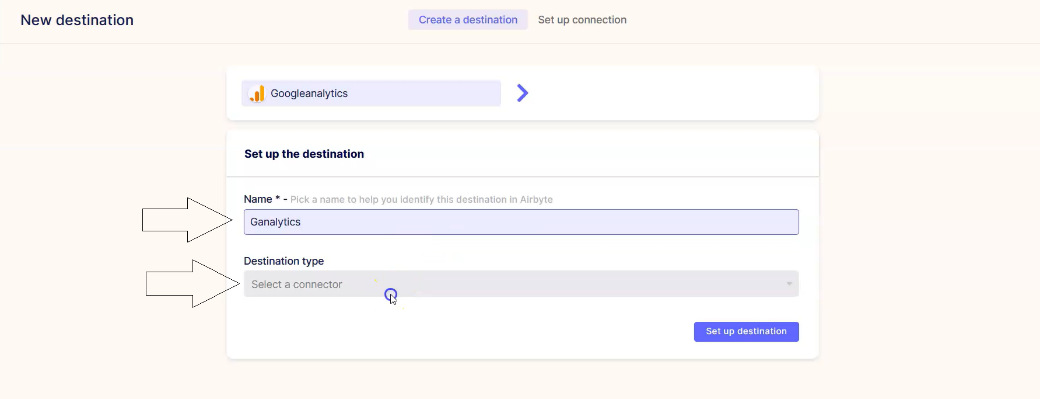
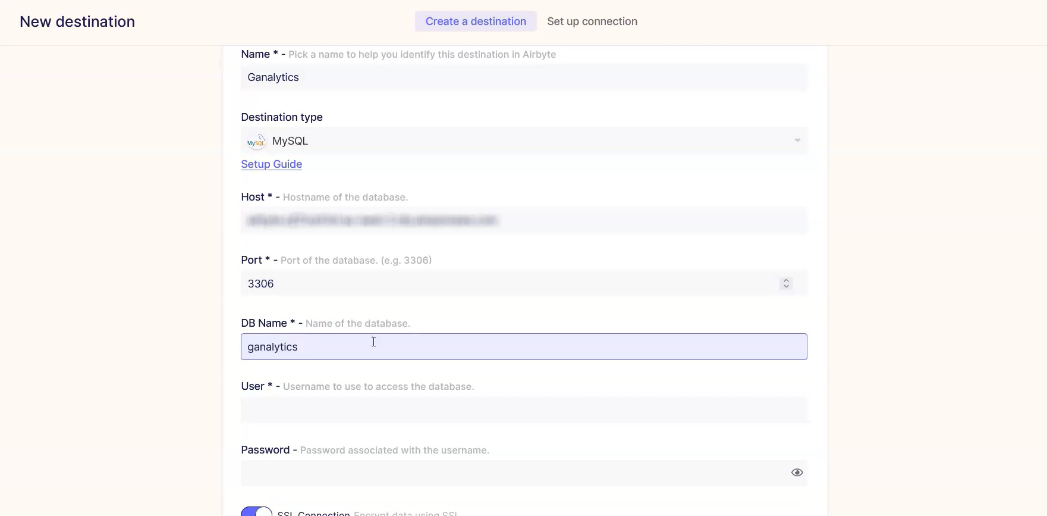
- Add the Host, Port number, DB name, Username and Password, as shown in the figure below:
- After adding the destination details, click on the setup destination button as shown in the figure below:
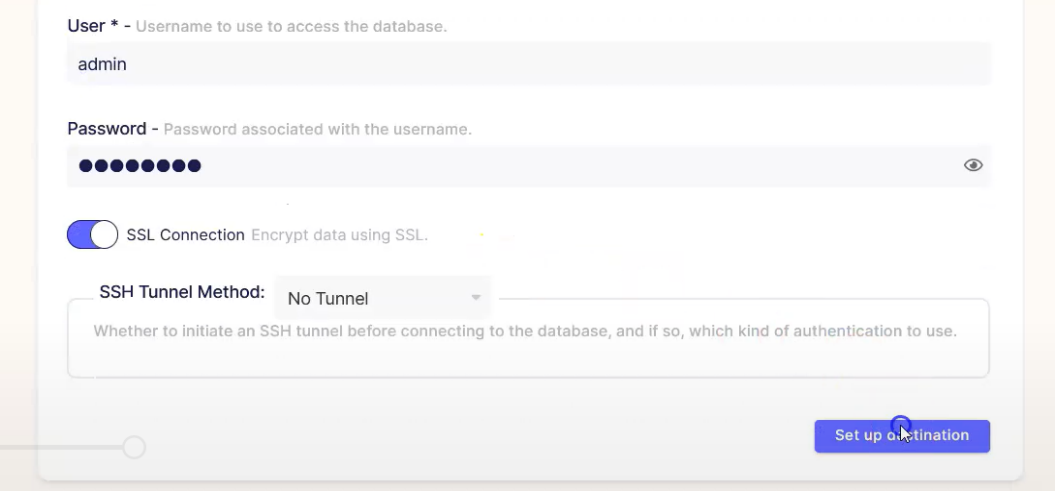
- As user click on the setup destination button, it gets user to the setup page.

- Select the Sync frequency and Table Prefix then click on the set up connection button to complete the connection.
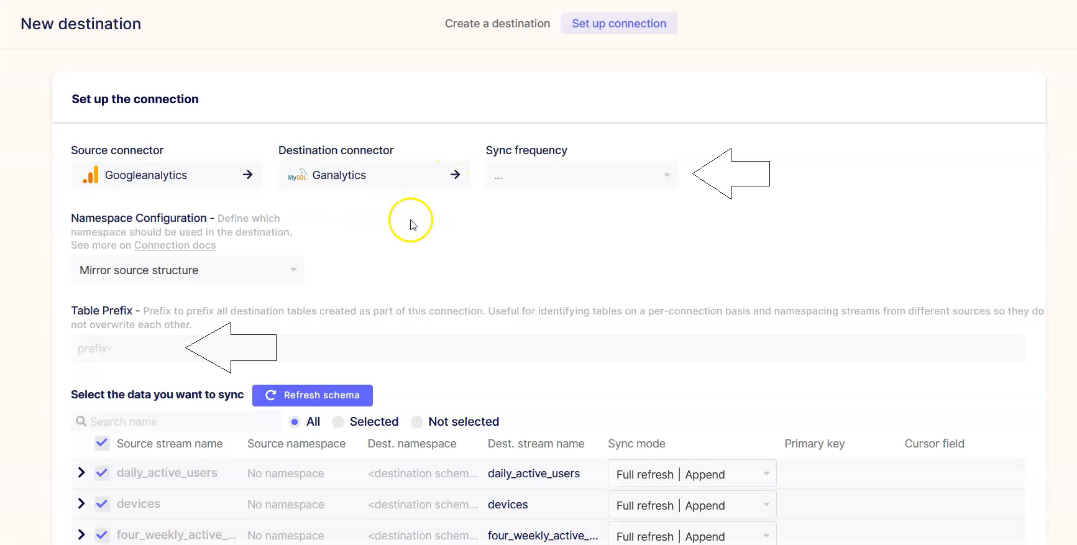
- The set up connection button is located on the bottom-right section of the screen.

- After adding the destination, click on the Sync Now button to sync the data on the opnbi.

Connecting Google Analytics Datasource with opnbi
- Go to the Master data section and click on Data Source, as shown in the figure below:
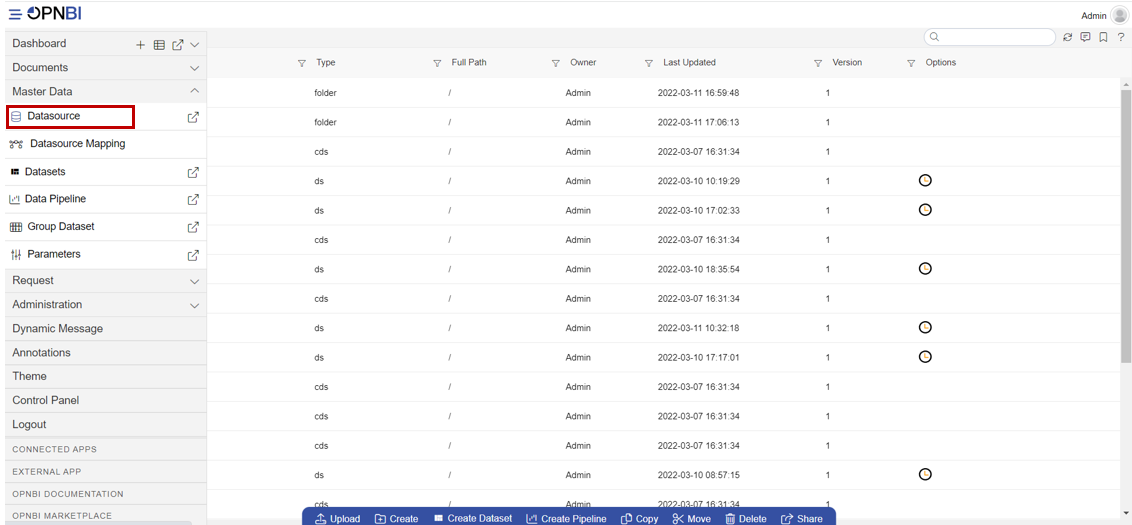
- Click on Create button from the bottom horizontal menu bar from Datasource section, as shown in the figure below:

- The Create Datasource window will open, as shown in the figure below:
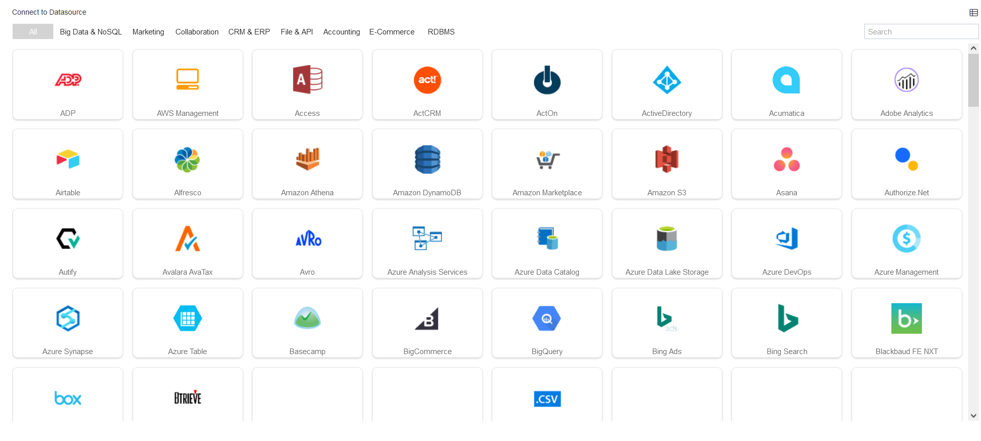
- Search for MySQL data source from Top-right search bar in Datasource section, as shown in the figure below:
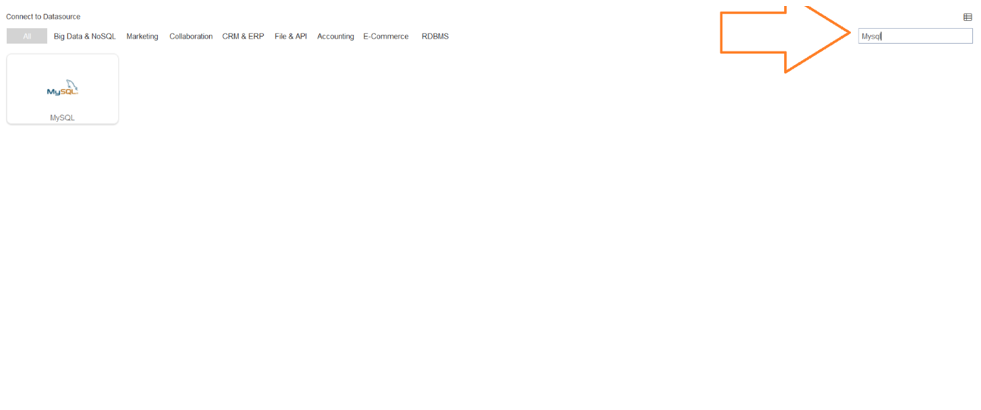
- Click on MySQL to create a data source using MySQL.

- As you click on MySQL, the create dialog box will pop-up on screen, as shown in the figure below:
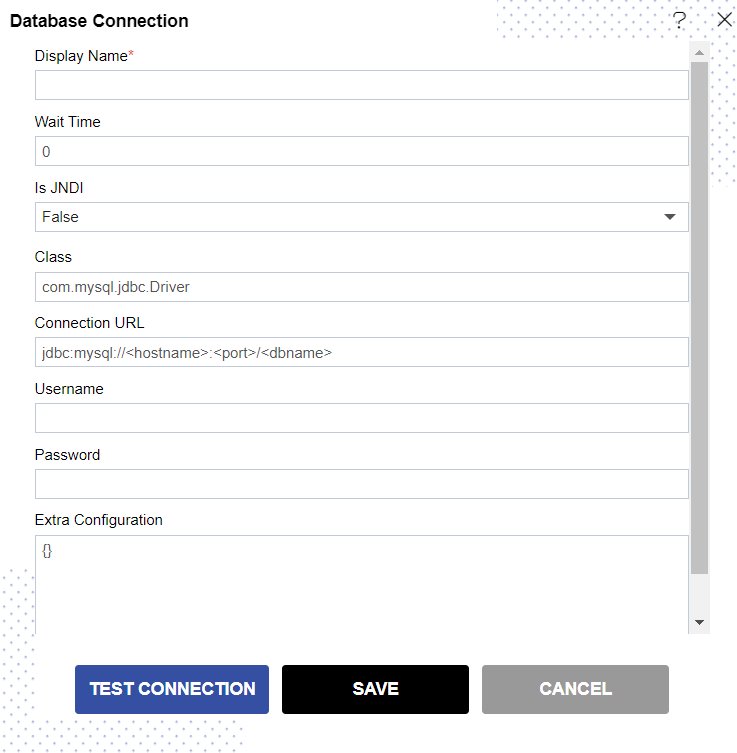
- Insert the following data in the Datasource connection Dialog box:-
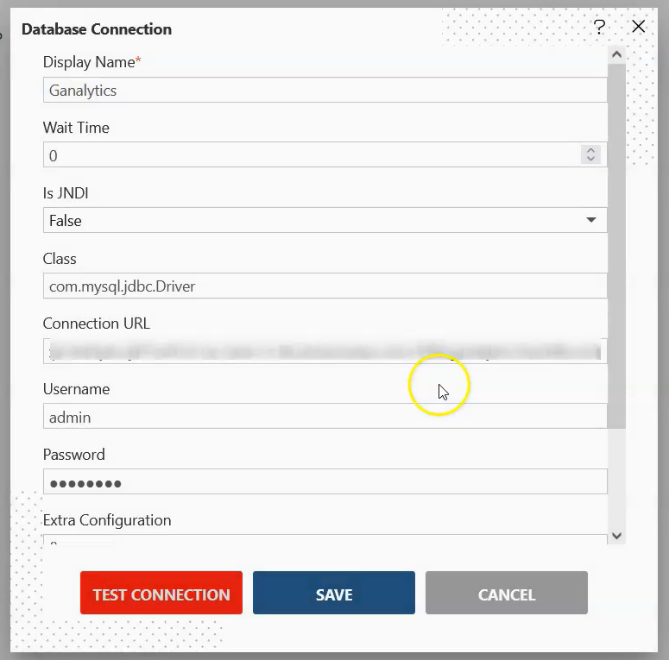
- Enter Display Name: Ganalytics [You can add name as per your requirements]
- Enter Class: com.mysql.jdbc.Driver
- Enter Connection URL: Here the user need to add the connection URL.
- Enter Username: root [Insert your username]
- Enter Password: [Enter your respective MySQL password]
- Verify added info, as shown in the figure below:
- Click on Test Connection Button to Check Database Connection, after Connection Successful, it should look like the following figure:
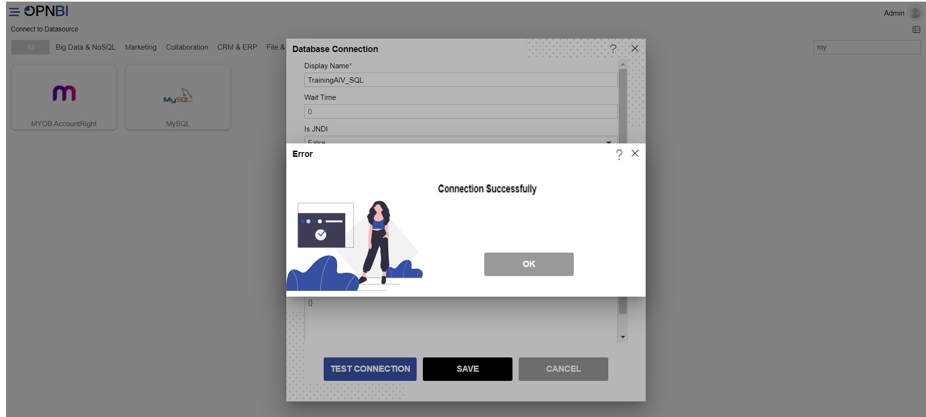
- Click on the ok and save button to close the Dialog box, The Created Successfully alert will pop-up on screen.
Now create a dataset after connecting the Datasource, click the link below👇: